mental health, Project Status, quilting

Crushed By Comparison and How To Talk To Anxious People

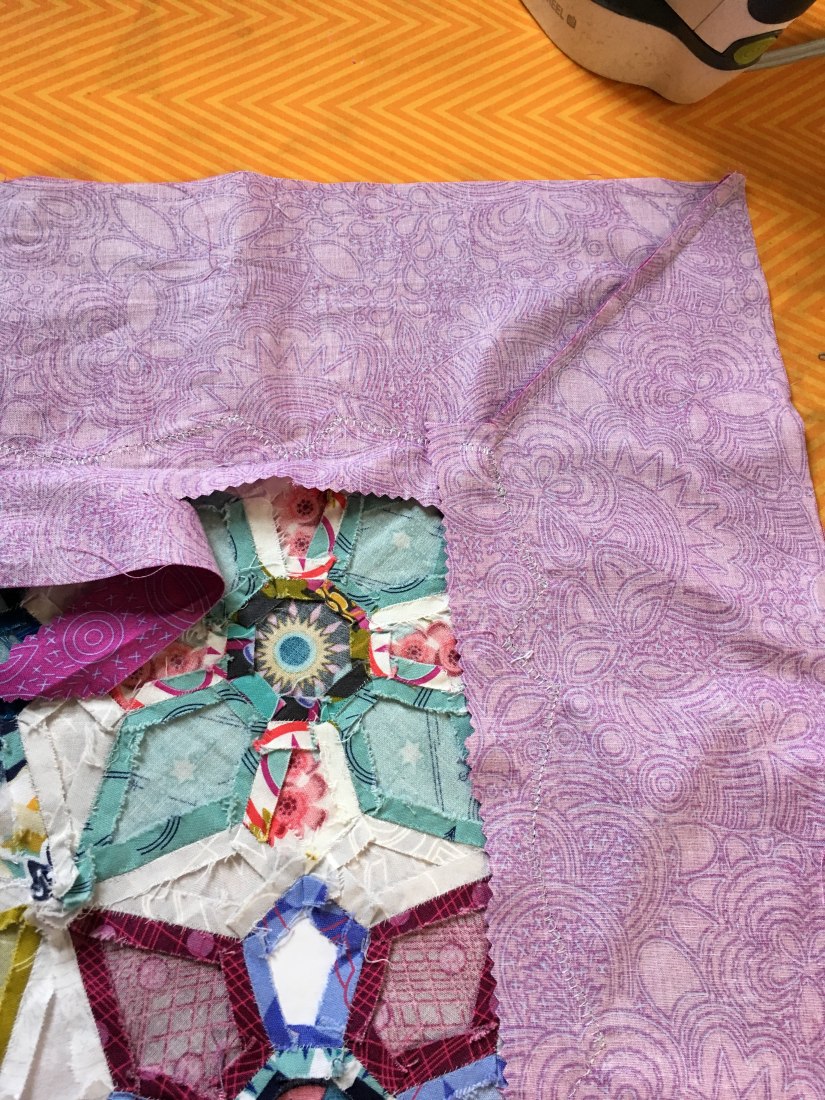
I few months ago I had this vision for a quilt project. Using only left over fabric from another quilt project I would make a blue/purple peacock on a background that went from yellow to orange to red. I was super excited when I started working on the project. Check out that eye!!!

I was so excited I did not read the pattern closely and ended up piecing the project backwards. I thought that was pretty cool because I think I have enough fabric to make another one in reverse, so green to blue to purple background with a yellow/orange peacock. If I made the second one the correct way it would look like they were mirror images.

Then I started scrolling through other people’s interpretation of the pattern on Instagram, realizing that what I was treating as background was actually the peacock’s feathers.

Now my idea feels stupid to me. How did I not catch that the feathers make up the background?! I’ve spent more than 30 hours hand piecing this project, and I don’t want to look at it. I don’t want to do another version mirrored version of my same stupid idea.

img_1529

Some of you may be tempted to write a comment about how much you like what I made and reassure me that my idea is not stupid.

I am gong to invite you not to do that.

If I don’t believe that for myself either I won’t believe it from you, or I will need you to remind me forever. This is why telling someone who is anxious that everything is okay is a waste of your time. If a person cannot do it for themselves, then it won’t stick when you do it. You’ll have to keep doing it. Forever.

It is also not effective to tell people who are anxious to calm down or stop worrying. That’s roughly the same as me telling you not to think about Abraham Lincoln.

Seriously, stop thinking about Abraham Lincoln.

Stop thinking about the beard and the top hats or the Emancipation Proclamation.

Image result for abraham lincoln

STOP THINKING ABOUT ABRAHAM LINCOLN ALREADY!!!!

To which any sane person would say, “Every time I try to stop thinking about him you remind me of him, and I start all over again.” That process is exactly what happens to an anxious person. Each time you tell them to calm down they are reminded of their anxiety and start all over again.

So what to do instead? Ask people what they need to handle whatever it is they are worried about. If they don’t know, I either invite them to take a few deep breaths or take a few moments to think about it. I do not solve the problem for them. Solving the problems leaves ME with the burden of relieving THEIR anxiety. No thank you.

Where does this leave me and the peacock? First I need to make peace with how my original vision is different. Then I need to decide if I want to spend another 30+ hours making another version or if  I want to move on.

One of my favorite things about quilting without deadlines is that I can put something away for awhile and look at it again when some of the original emotion has worn off. So away goes the peacock for a bit.

Until then, I’ll be thinking about Abraham Lincoln.
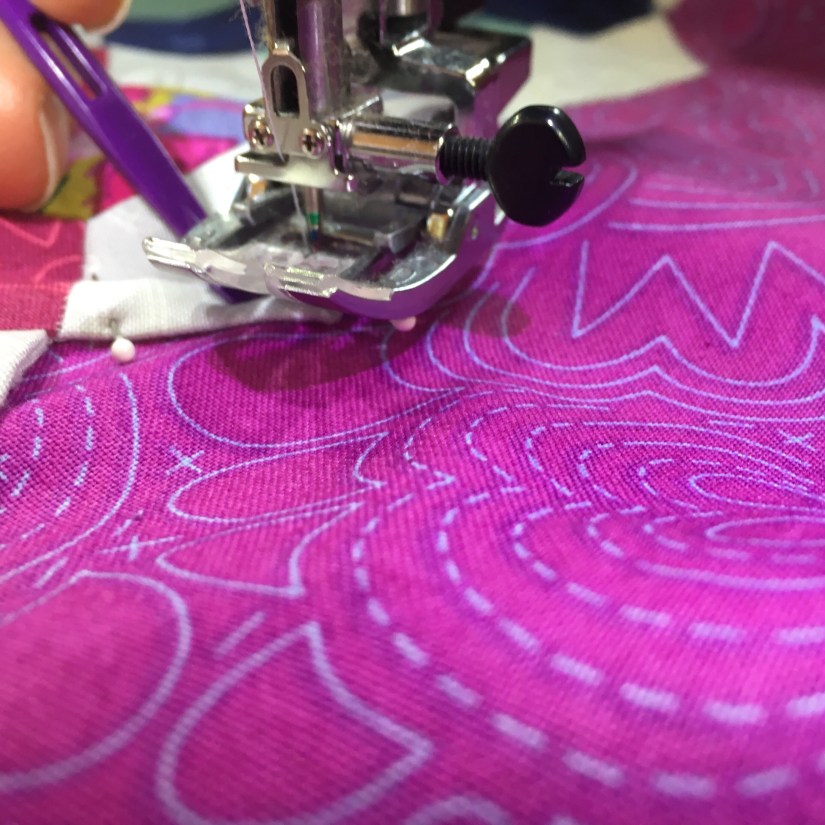
quilting

Sometimes You Have To Try: A look at my mishaps while trying to appliqué borders

I finished hand sewing together all the blocks for my Mischief Quit! I started the quilt in June of 2017. The fabric was gift from my mom for my birthday and the pattern was a Mother’s Day gift from my husband. I met my goal of having the block assembled in less than a year by mere days, but it still counts!! (If you’d like to try this quilt kit you can buy it here.)

Now comes the next big step: appliqueing on the borders. I have never done anything like this before. So it will come as no surprise I spent a lot of time on the internet. Then I read Flossie Teacakes’s Guide to English Paper Piecing. Lastly, Karen Tripp, the DIY Addict herself, shared a photo of my quilt top on her Instagram page and asked people for advice.

I now had mountains of information and needed to get on with it. I figured there are four borders to attach so I have four tries to figure out what technique works the best for me. As it turns out, I did something different with each borders. Yay for being a beginner. 🙄

Attempt #1

One of the Instagrammers shared that she left the end paper pieces in and machine sewed right through them. This was my ideal since I was afraid of removing the edge pieces and distorting that beautiful pattern in Karen’s design. I used a Hera marking tool to mark the border fabric.img_1409

See the line? It means no markings to remove later. 🙂

Next I pressed the edges and applied the applique glue. I was immediately concerned that the glue’s hold wasn’t strong enough so I added pins. I sewed right through the papers and got beautiful crisp edges…then I tried to take the papers out and it was a DISASTER. I destroyed the papers, which I was bummed about because I already have plans for a repeat, AND I don’t think I was able to get all the paper out.

Conclusion: be brave and take the paper’s out first.

Attempt #2

I took the papers out, pressed the fabric and secured the fabric with pins this time. It went okay but the fabric felt a little shifty to me. AND a few of my corners rounded a bit after taking the papers out. I did not like that.

img_1413
See the rounded corner on the right? Not what I was going for.

Conclusion: Better pinning is needed and need a way to preserve edges without paper.

Attempt #3

For this attempt, I pressed the edge while the papers were still in to crisp up the borders and then I took the papers out and pressed AGAIN with a bit of Best Press. This left me with nice pretty edges. I decided to give the glue another chances…and the second half came unglued while sewing. I had to stop to realign the fabric and pin. I felt grumpy about that.

img_1430

Conclusion: Pressing before removing the papers makes a big difference and the glue is not enough.

Attempt #4

Taking in everything I learned, I pressed the edges with the papers still in. Then I removed the papers and pressed again with the Best Press.

Before Best Press:

After Best Press: Then I glued the borders and then let it sit under heavy stuff all day to make sure it set

img_1440

And I added a few pins just to be sure.

Conclusion: I still had some shifting problems. I don’t think I pinned frequently enough. I’m chalking this up to being a beginning. I think I’ll need to practice some more.

Mitering the Corners

I used Angela Walter’s framework for mitering my borders. You can check out her episode of the Midnight Quilt Show (skip to about 7 minutes in).

img_1447

After I sewed the corners, I went around the corners to make sure everything we super tacked down and wasn’t going to move. Then I trimmed some of the bulk from the seam allowance.

img_1460

I’d love say that I used pinking shears for a super strategic reason. The truth is I was afraid to use the rotary cutter because I didn’t want to cut something I wasn’t supposed to and my fabric scissors were in the other room and I did not want to go get them.

A few side notes:

I love my “purple thang” tool. It is amazing for popping out papers and for tucking in fabric tails while sewing. It costs hardly anything and is super helpful.

I accidentally got too close to a pin and now it was stuck. The Purple Thang pushed it right out!

I had to remind myself over and over again that I am a beginner. I have NEVER done this before so the results will reflect my novice status. As we tell our OCD clients All. The. Time: done is better than perfect. When a cold Illinois winter hits and I’m snuggled under this quilt feeling super proud of myself, I’m not going to notice those few bits of paper I wasn’t able to pull out or that corners didn’t miter exactly.

Enjoy!